Table of Contents
How to start the stack
Start simulation as described in LGSVL simulator. Additionally, to configure LGSVL for this demonstration:
- Maps: use this map link
- Vehicles: Select
ROS2 nativebridge type and paste content ofAutowareAuto/lgsvl-sensors.jsoninto theSensorstext box - Simulations: In
Generaltab,Select Cluster = Local Machineand untick any boxes. InMap & Vehiclestab, ensure to untickRun simulation in interactive mode. InTraffictab, untick all selection. TheWeathertab is irrelevant
terminal 1
terminal 2
The stdbuf command above is needed because the default in ROS is to only output lines from stdout when the buffer is full. This command changes that setting to use a "line buffer" which outputs every line, providing more debugging information.
terminal 3
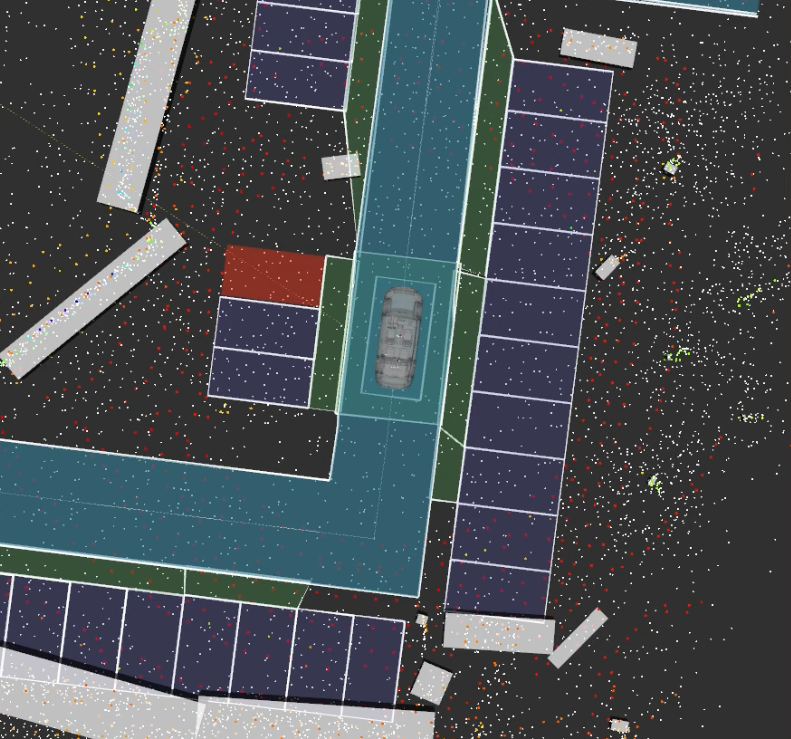
Move the vehicle on LGSVL to the position shown in the image. This is the "pick-up/drop-off zone" on the parking lot roadway in front of the three parking spots directly outside of the front door of the AutonomouStuff building.
Before selecting a goal, you will need to initialize localization. To do this switch to the rviz window, click the 2D Pose Estimate button at the top, and then click at the approximate location where the vehicle currently is in the map and drag in the direction of the vehicle's heading. You can verify that the vehicle has been localized by the vehicle model jumping to the new location and the real-time lider scans matching up with the static lidar map.
Next, to select a parking spot graphically, click the 2D Nav Goal button in rviz, click in the goal location, and drag in the direction of the goal heading.
Optionally, to send a goal position/heading programmatically:
terminal 4
if you want to park in the backward direction, send:
Verify that Behavior Planner receives routes from Global Path
On Terminal 2, you should see following message output:
Verify that Lane Planner and Parking Planner are called by Behavior Planner
On Terminal 2, you should see the following message output:
Verify that Behavior Planner outputs a Trajectory for MPC to follow
On Terminal 3, you should see a trajectory message coming out from the behavior planner.